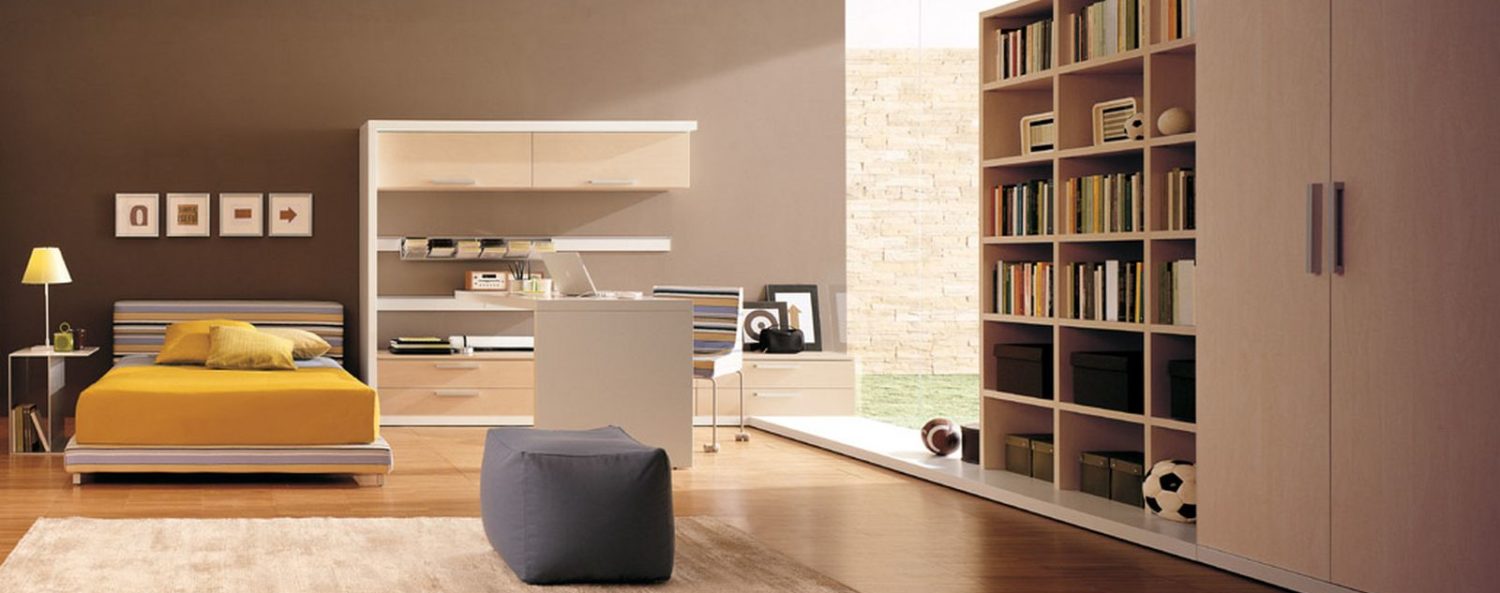
 If you are a self-employed home stager or even a home stager running his business, it’s likely there are numerous competitors in the real estate market. When you are a novice, you might have trouble trying to find clients to hire you. However never worry, as you can easily present before and after property staging pictures to get you more clients and also to make your name among others.
Before and after property staging pictures is the best method to highlight your skills as a home stager to other property owners. These pictures are proof that you can create fantastic spaces so the owners can show the property to the buyers. When you have excellent photos, you might have more customers ready to hire you.
To get before and after pictures, you should have a camera and the owner’s authorization to take photos. You need to have the correct angle on to take the photo so it truly illustrates the change of the look of the room before and after the home staging process. Never take a photo of the front side of the property as you need to avoid the privacy of the new homeowner, unless he granted you to do so.
After you take pictures, you may display these within the presentation, portfolio or even through your site or blog post. You can actually edit photos today by making use of photo editing softwares, but only use it to improve the brightness of the spaces. But if you are not really experienced in editing the photos you can consider pro photo edits to help you create excellent photos of your staging projects.
Because we are in a computer generation today, you can just store the digital copy of these pictures in your laptop or computer. Ensure that you also have backup copies in the USB drive or even CDs so when the laptop or computer got damaged or infected with virus, you can certainly still have the duplicates.
